
Yosemite National Park, with its breathtaking vistas, towering waterfalls, and majestic sequoias, is a paradise for photographers seeking to capture the essence of nature’s grandeur. This guide is meticulously crafted to serve as the ultimate photographer’s guide to Yosemite, offering an insider’s perspective on the best photography spots, secret photo spots, and tips to photograph Yosemite like never before. Whether you’re aiming to freeze the perfect moment by El Capitan, yearn for the iconic shots of Half Dome, or wish to uncover hidden gems away from the crowds, we’ve got you covered. Our comprehensive advice will ensure you’re well-equipped to capture Yosemite’s awe-inspiring beauty across seasons and times of day. Stay with us as we embark on a photographic journey through one of America’s most iconic national parks, transforming the way you capture Yosemite—one shutter click at a time.
Why Yosemite?
Yosemite National Park, a jewel nestled in the Sierra Nevada mountains of California, stands as a testament to nature’s grandeur and diversity. Its unparalleled beauty makes it a prime location for photographers from around the globe, drawing them to capture its iconic landscapes and ephemeral moments. The park’s vast expanse, covering over 750,000 acres, offers a plethora of subjects for photographers of all interests and skill levels. From the towering cliffs of El Capitan and the granite majesty of Half Dome to the enchanting waterfalls cascading into the valley below, Yosemite’s natural wonders provide endless opportunities to photograph Yosemite in its many moods and colors.
One of the unique features that attract photographers to Yosemite is its variety of landscapes. The park’s terrain changes dramatically with the seasons, offering a new palette of colors and scenes throughout the year. Spring brings with it the thunderous roar of waterfalls at their peak flow, surrounded by meadows teeming with wildflowers. Summer highlights the lush greenery and clear, star-filled night skies, perfect for astrophotography. Come autumn, the foliage transforms into a vibrant display of oranges and reds, a feast for the eyes and lenses alike. Winter coats the valley in a serene blanket of snow, offering stark contrasts and dramatic scenes rarely found elsewhere.
Yosemite is not just about the landscapes. The park’s diverse wildlife, ranging from the majestic deer to the elusive black bear, adds a dynamic element to the photographic adventure. The interplay of light and shadow, especially during the golden hours of sunrise and sunset, can transform familiar scenes into breathtaking masterpieces. The phenomenon known as “firefall,” where the setting sun illuminates Horsetail Fall to resemble molten lava, is one such spectacle that photographers vie to capture.
For those in search of secret photo spots, Yosemite does not disappoint. Beyond the well-trodden paths lie hidden gems waiting to be discovered and captured, offering unique perspectives and solitude. The park’s vastness encourages exploration, promising new discoveries with each visit.
In essence, Yosemite’s allure for photographers lies in its ability to reveal the sublime beauty of the natural world. Whether you seek to capture iconic shots, explore the best photography spots, or uncover the park’s hidden treasures, Yosemite beckons with the promise of inspiration and awe at every turn.
Best Photography Spots in Yosemite
Yosemite National Park is a photographer’s dream, with its breathtaking landscapes and natural beauty. Among the myriad of spots to capture Yosemite’s essence, three stand out for their iconic views and photographic potential: Yosemite Valley, Tunnel View, and El Capitan Meadow. Each location offers a unique perspective of the park’s majestic features, making them must-visit destinations for anyone aiming to photograph Yosemite. Among the array of stunning locales, Glacier Point, Half Dome, and Mariposa Grove stand out as exceptional spots to capture Yosemite’s awe-inspiring beauty. Each location demands a different approach to truly encapsulate its essence through the lens.
Yosemite Valley
The heart of the park, Yosemite Valley, is renowned for its spectacular granite cliffs, waterfalls, and diverse ecosystems. To truly capture its grandeur, photographers should consider visiting during the early morning or late afternoon when the soft, diffused light enhances the textures and colors of the landscape. Positioning yourself in the meadows along the Merced River can provide stunning reflections of El Capitan and Half Dome, especially in the calm of early morning or late spring when the water levels are higher.
Tunnel View
Tunnel View provides one of the most famous and breathtaking panoramas of Yosemite. This vantage point offers a commanding view of El Capitan, Bridalveil Fall, and Half Dome in the distance. To capture Yosemite’s iconic shot here, aim for sunrise or sunset when the sky’s changing colors add drama to the scene. Positioning is straightforward at this popular spot; however, arriving early or staying late allows for a composition without the crowds, giving a serene and untouched feel to your photographs. Winter mornings can be particularly magical, with the valley often shrouded in mist and the peaks dusted with snow.
El Capitan Meadow
For a closer look at the sheer magnitude of El Capitan, El Capitan Meadow is unparalleled. It offers a direct view of this granite monolith, providing opportunities to capture climbers in action or the changing face of El Capitan as the sun moves across the sky. The best time of day for photography here is late afternoon when the western sun illuminates the face of El Capitan, highlighting its textures and crevices. Photographers can experiment with different focal lengths here, from wide angles to capture the expanse of the meadow and the towering cliff above, to telephoto lenses that can zoom in on climbers or specific features of the rock face.
Glacier Point
Glacier Point offers a panoramic vista that is nothing short of breathtaking. From this vantage point, photographers are treated to expansive views of Yosemite Valley, Half Dome, and Yosemite’s high country. To capture the sweeping landscape, the best time of day is during sunrise or sunset when the soft light paints the granite peaks in hues of pink and orange. Positioning yourself at the railing provides a clear, unobstructed view, but exploring the area can also reveal unique angles and compositions. Night photographers will find Glacier Point enchanting, as the clear skies offer a splendid backdrop of stars above the illuminated valley and landmarks.
Half Dome
The iconic profile of Half Dome is synonymous with Yosemite. Capturing this granite monument requires timing and positioning to get the lighting just right. One of the best spots to photograph Half Dome is from the east end of Yosemite Valley, especially from Stoneman Meadow or the banks of the Merced River, where you can frame the dome with water reflections. Sunrise and sunset offer dramatic lighting conditions, with the latter often illuminating Half Dome’s face in a warm, golden glow. For a challenging yet rewarding experience, the hike to the summit of Half Dome presents a unique perspective, with panoramic views best captured at sunrise.
Mariposa Grove
Home to hundreds of ancient giant sequoias, Mariposa Grove provides a different kind of photographic challenge and reward. The key to capturing the essence of this place lies in conveying the immense scale of these trees. Early morning light filters softly through the canopy, creating a mystical atmosphere and highlighting the textures of the sequoia bark. Wide-angle lenses are essential to encompass the towering height of the trees, while a shallow depth of field can be used creatively to focus on details like the grooved bark or the ferns and saplings at the forest floor. Walking the trails quietly at dawn or dusk not only offers the best light but also the peace needed for thoughtful composition.
Tuolumne Meadows
Nestled in the high country of Yosemite, Tuolumne Meadows is a serene expanse that offers a stark contrast to the dramatic cliffs of the valley. This area is best photographed in the late spring and early summer when the meadows are lush and wildflowers are in bloom. The gentle flow of the Tuolumne River adds a dynamic element to landscape shots, and the surrounding peaks provide a majestic backdrop. The best time of day to capture the meadows is during the golden hours when the light softens the landscape and enhances the colors. Positioning yourself along the riverbanks or finding a vantage point that includes the meadows and the granite peaks in the background can yield stunning compositions.
Taft Point
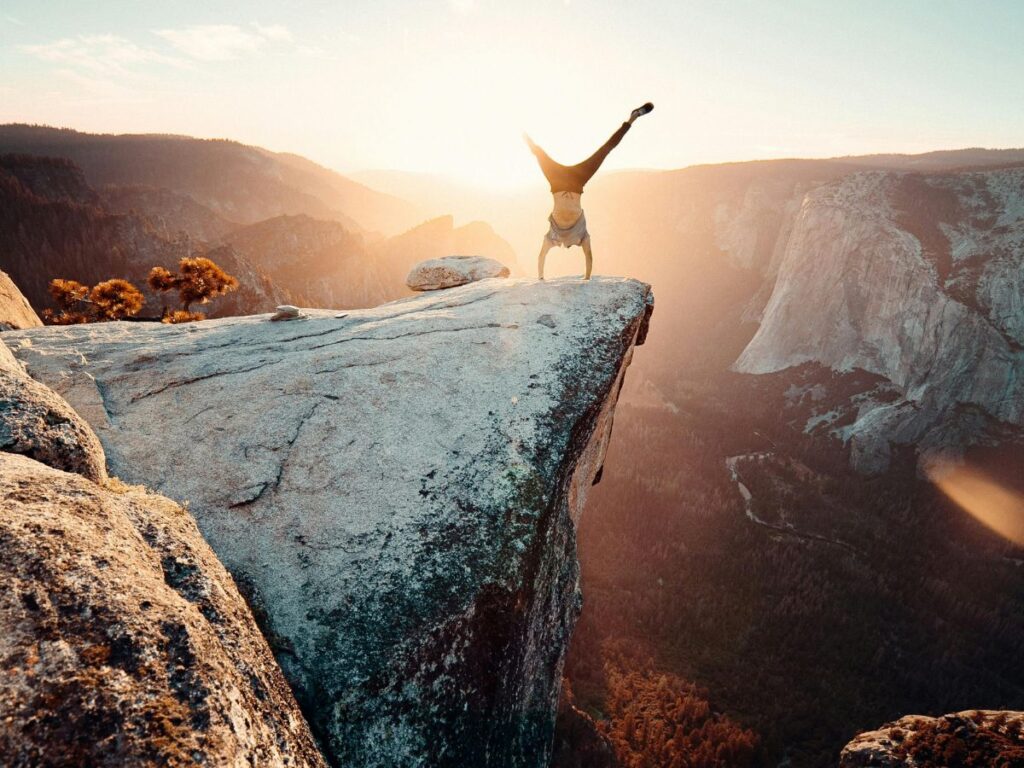
Taft Point offers a unique perspective on Yosemite Valley, with its sheer cliff drops and expansive views. Photographers flock to this spot to capture the vertiginous views and the famous fissures—cracks in the granite shelf that drop straight down to the valley floor. Sunset is the prime time to photograph from Taft Point, as the setting sun casts a warm glow over the valley and El Capitan across the way. Safety is paramount when positioning yourself for the perfect shot, especially near the edges. A wide-angle lens is recommended to capture the breadth of the view and the depth of the fissures. Including a human element near the fissures can add scale and drama to your shots.
Sentinel Dome
Sentinel Dome provides one of the most accessible yet sweeping 360-degree views of Yosemite National Park. From here, photographers can capture the entirety of Yosemite’s landscape, from El Capitan and Yosemite Falls to the high Sierra peaks in the distance. The best time to visit is near sunset when the light illuminates the valley and the shadows lengthen, adding depth and texture to the landscape. The summit of Sentinel Dome offers ample space for positioning, allowing photographers to experiment with different angles and compositions. Bringing a tripod for sunset and twilight shots can help capture the vastness of the scene with clarity and depth.
In capturing these best photography spots, remember the importance of patience and respect for nature. Yosemite’s weather can change rapidly, offering unique photographic opportunities but also requiring preparation and care. These locations, celebrated for their beauty and captured in countless iconic shots, also remind us of the need to preserve and protect these natural treasures for future generations to experience and capture Yosemite in their own way.
In photographing these best photography spots within Yosemite, the combination of natural beauty and the changing light creates a myriad of opportunities to capture Yosemite in all its glory. Whether it’s the grandeur of Glacier Point, the iconic silhouette of Half Dome, or the ancient majesty of Mariposa Grove’s giant sequoias, each location invites photographers to explore, discover, and share the park’s unparalleled beauty. Remember, capturing these scenes is not just about the perfect shot, but also about preserving the moment and the place, encouraging a deeper appreciation and respect for Yosemite’s natural wonders.
In capturing these best photography spots, photographers are reminded of Yosemite’s vastness and variety. Tuolumne Meadows, Taft Point, and Sentinel Dome each offer a unique lens through which to view and photograph Yosemite, from serene meadows and breathtaking cliffs to panoramic summits. These locations encourage photographers to pause, reflect, and appreciate the natural splendor before them, ensuring that each captured image is a testament to Yosemite’s enduring beauty.
Essential Gear for Photographing Yosemite
Photographing the majestic landscapes of Yosemite National Park requires preparation and the right equipment. Whether you’re capturing the granite facades of El Capitan, the serene beauty of Tuolumne Meadows, or the night sky over Glacier Point, having the appropriate gear will enhance your photographic journey.
Camera and Lens Recommendations: A DSLR or mirrorless camera with manual settings is ideal for capturing Yosemite’s vast landscapes and dynamic range. Wide-angle lenses are indispensable for landscape photography, allowing you to capture expansive vistas. A telephoto lens, on the other hand, is crucial for isolating distant features like wildlife or climbers on the rock faces. For those interested in the park’s flora or capturing the intricate details of the Valley, a macro lens can also be a valuable addition.
Must-Have Accessories:
- Tripods are essential for stability during long exposures, especially in low-light conditions or when capturing the movement of waterfalls.
- Filters play a pivotal role in managing light and enhancing colors. A polarizing filter can help reduce glare from water and enhance the blue of the sky, while neutral density filters allow for longer exposures during the day, perfect for smoothing out waterfalls or capturing cloud movement.
- Extra batteries and memory cards are a must, given the cooler temperatures at higher elevations and the large number of photos you’ll be taking.
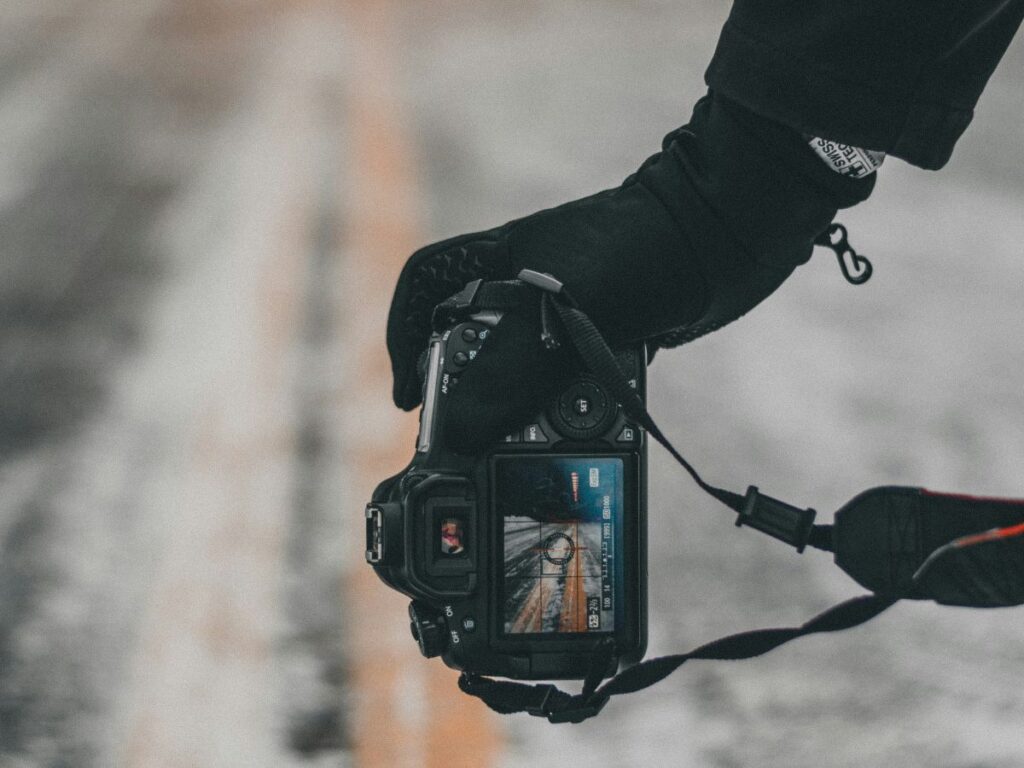
Packing for Different Seasons: Yosemite’s weather can vary significantly, so it’s important to pack accordingly. In spring and fall, layers are key, as temperatures can change rapidly. Winter photography in Yosemite is breathtaking, but requires warm clothing and possibly traction devices for your shoes, as well as protective gear for your camera. In summer, light clothing, sunscreen, and plenty of water are essential, along with dust protection for your equipment.
Photography Tips and Techniques
Capturing the Dynamic Range of Yosemite’s Landscapes: Yosemite’s vast landscapes often feature extreme contrasts in light, especially in deep valleys or during sunrise and sunset. To capture the full dynamic range, consider using a tripod and blending multiple exposures in post-processing or utilizing the HDR (High Dynamic Range) function on your camera.
Photographing Waterfalls and Wildlife: The best time to photograph Yosemite’s waterfalls is during late spring when the water flow is at its peak. A slow shutter speed can create a smooth, silky effect on the water, but be sure to use a tripod to avoid camera shake. For wildlife, patience is key. Use a telephoto lens to keep a safe distance and wait for the right moment when animals are active, typically during the early morning or late afternoon.
Capturing Star-Filled Skies: Yosemite’s clear skies offer spectacular opportunities for night photography. To capture the stars or the Milky Way, use a wide-angle lens with a wide aperture (f/2.8 or wider), set your camera to a high ISO (1600-3200), and experiment with long exposure times (15-30 seconds). A tripod is essential to prevent camera shake, and a remote shutter release can further ensure sharp images. Be mindful of the moon phase, as a full moon can wash out the stars, while a new moon is ideal for astrophotography.
By adhering to these gear recommendations and photography tips, you’ll be well-equipped to capture the breathtaking beauty of Yosemite National Park, from its grand landscapes and flowing waterfalls to its wildlife and starry night skies.
Local Regulations and Etiquette
When setting out to capture the natural beauty of Yosemite National Park through your lens, it’s imperative to adhere to park regulations and practice responsible photography etiquette. These guidelines ensure not only the preservation of the park’s pristine conditions but also a respectful and safe experience for all visitors.
Park Rules for Photographers
- Permits: For casual photography intended for personal use, permits are generally not required. However, commercial photographers, those using models, props, or sets, and drone photography necessitate special permits from the National Park Service.
- Drones: The use of drones is strictly prohibited in Yosemite National Park to protect wildlife and ensure the safety and enjoyment of all visitors.
- Stay on Trails: To minimize the impact on natural habitats, photographers are urged to stay on designated trails and walkways when setting up shots.
Respecting Wildlife and Nature While Photographing
- Keep a Safe Distance: Always observe wildlife from a distance that doesn’t disturb them. Use a telephoto lens to capture close-up shots without encroaching on the animals’ space.
- Leave No Trace: Carry out everything you bring into the park, including batteries, memory cards, and trash. This practice helps maintain the natural beauty of Yosemite for future visitors.
- Silence is Golden: When in nature, especially early in the morning or late in the evening, keep noise to a minimum to avoid disturbing wildlife and other visitors.
By following these guidelines, photographers can help ensure that Yosemite remains a stunning and serene environment for all who visit.
Planning Your Visit
Capturing Yosemite’s majestic landscapes requires planning your visit to coincide with the best lighting conditions and seasonal features. Whether you’re seeking to photograph cascading waterfalls, wildflower blooms, or snow-capped peaks, understanding when and how to visit is key.
Best Times of the Year to Visit for Photography
Spring (April to June): Ideal for waterfall photography as the snowmelt peaks, creating powerful water flows and vibrant green landscapes.
Summer (July to September): Perfect for capturing high country landscapes, wildflower meadows, and clear starry nights.
Fall (October to November): Offers stunning foliage colors and softer light conditions for landscape photography.
Winter (December to March): The best time for capturing snow-covered scenes, with fewer visitors and a tranquil atmosphere.
Days and Times to Capture Yosemite in Different Lights
- Golden Hours: Sunrise and sunset offer the softest light and most dramatic skies. Locations like Tunnel View and Glacier Point are spectacular during these times.
- Blue Hour: The time just before sunrise or just after sunset provides a cool, serene light that is excellent for capturing the quiet beauty of the park.
How to Get There
- Airports: The nearest major airports are Fresno Yosemite International Airport (FAT), about 1.5 hours drive to the south entrance, and Reno-Tahoe International Airport (RNO), approximately 4 hours drive to the east entrance.
- Local Transport: While there is limited public transportation to Yosemite, the YARTS (Yosemite Area Regional Transportation System) provides bus service to the park from surrounding communities. Inside the park, free shuttle buses operate in Yosemite Valley and other key areas, reducing the need for personal vehicles and helping to preserve the park’s environment.
Planning your visit with these factors in mind will enhance your photography experience, allowing you to capture Yosemite’s landscapes in their most flattering light while respecting the natural environment and adhering to park regulations.
Key Takeaways
- This article serves as an all-encompassing guide for photographers planning to visit Yosemite National Park, covering essential information from ideal photography spots to seasonal planning.
- Detailed insights into both well-known and lesser-known photography locations within Yosemite, including how to capture iconic shots of Yosemite Valley, Glacier Point, and Mariposa Grove, as well as discovering secret photo spots for unique perspectives.
- Recommendations on the must-have photography equipment for capturing Yosemite’s landscapes, including camera and lens suggestions, necessary accessories like tripods and filters, and packing tips for different seasons.
- Advanced tips and techniques on capturing the dynamic range of Yosemite’s landscapes, photographing waterfalls and wildlife, and techniques for night photography to capture star-filled skies.
- Important information on Yosemite National Park’s rules for photographers, including permits, drone usage, and tips on respecting wildlife and nature to ensure both the preservation of the park and the safety of its visitors.
- Strategic advice on the best times of the year to visit Yosemite for photography, suggestions on days and times to capture the park in different lights, and logistical information on getting to and around Yosemite, emphasizing the importance of timing and preparation for the optimal photography experience.
FAQs
- Do I need a permit to photograph in Yosemite?
Casual photography for personal use does not require a permit, but commercial photography and drone usage do. - What are the best times to visit Yosemite for photography?
Spring for waterfalls, summer for high country and night skies, fall for foliage, and winter for snowscapes. - What gear is essential for photographing Yosemite?
A DSLR or mirrorless camera, wide-angle and telephoto lenses, tripod, polarizing and neutral density filters. - How can I photograph Yosemite’s wildlife safely?
Use a telephoto lens and keep a respectful distance to avoid disturbing the wildlife. - What are the best spots to capture iconic shots of Half Dome?
Tunnel View, Glacier Point, and the east end of Yosemite Valley are prime locations for Half Dome photography. - How do I capture the dynamic range of Yosemite’s landscapes?
Use HDR techniques or blend multiple exposures in post-processing to handle contrasting light conditions. - Is there a recommended lens for photographing Yosemite’s vast landscapes?
A wide-angle lens is ideal for capturing Yosemite’s expansive landscapes. - Are tripods allowed in Yosemite?
Yes, tripods are allowed and recommended for stability during long exposures and low-light conditions. - What should I pack for a winter photography trip to Yosemite?
Warm clothing, protective gear for your camera, extra batteries, and possibly traction devices for your shoes.